Parts needed:
1) NintendoDS Touch Screen
http://www.sparkfun.com/products/8977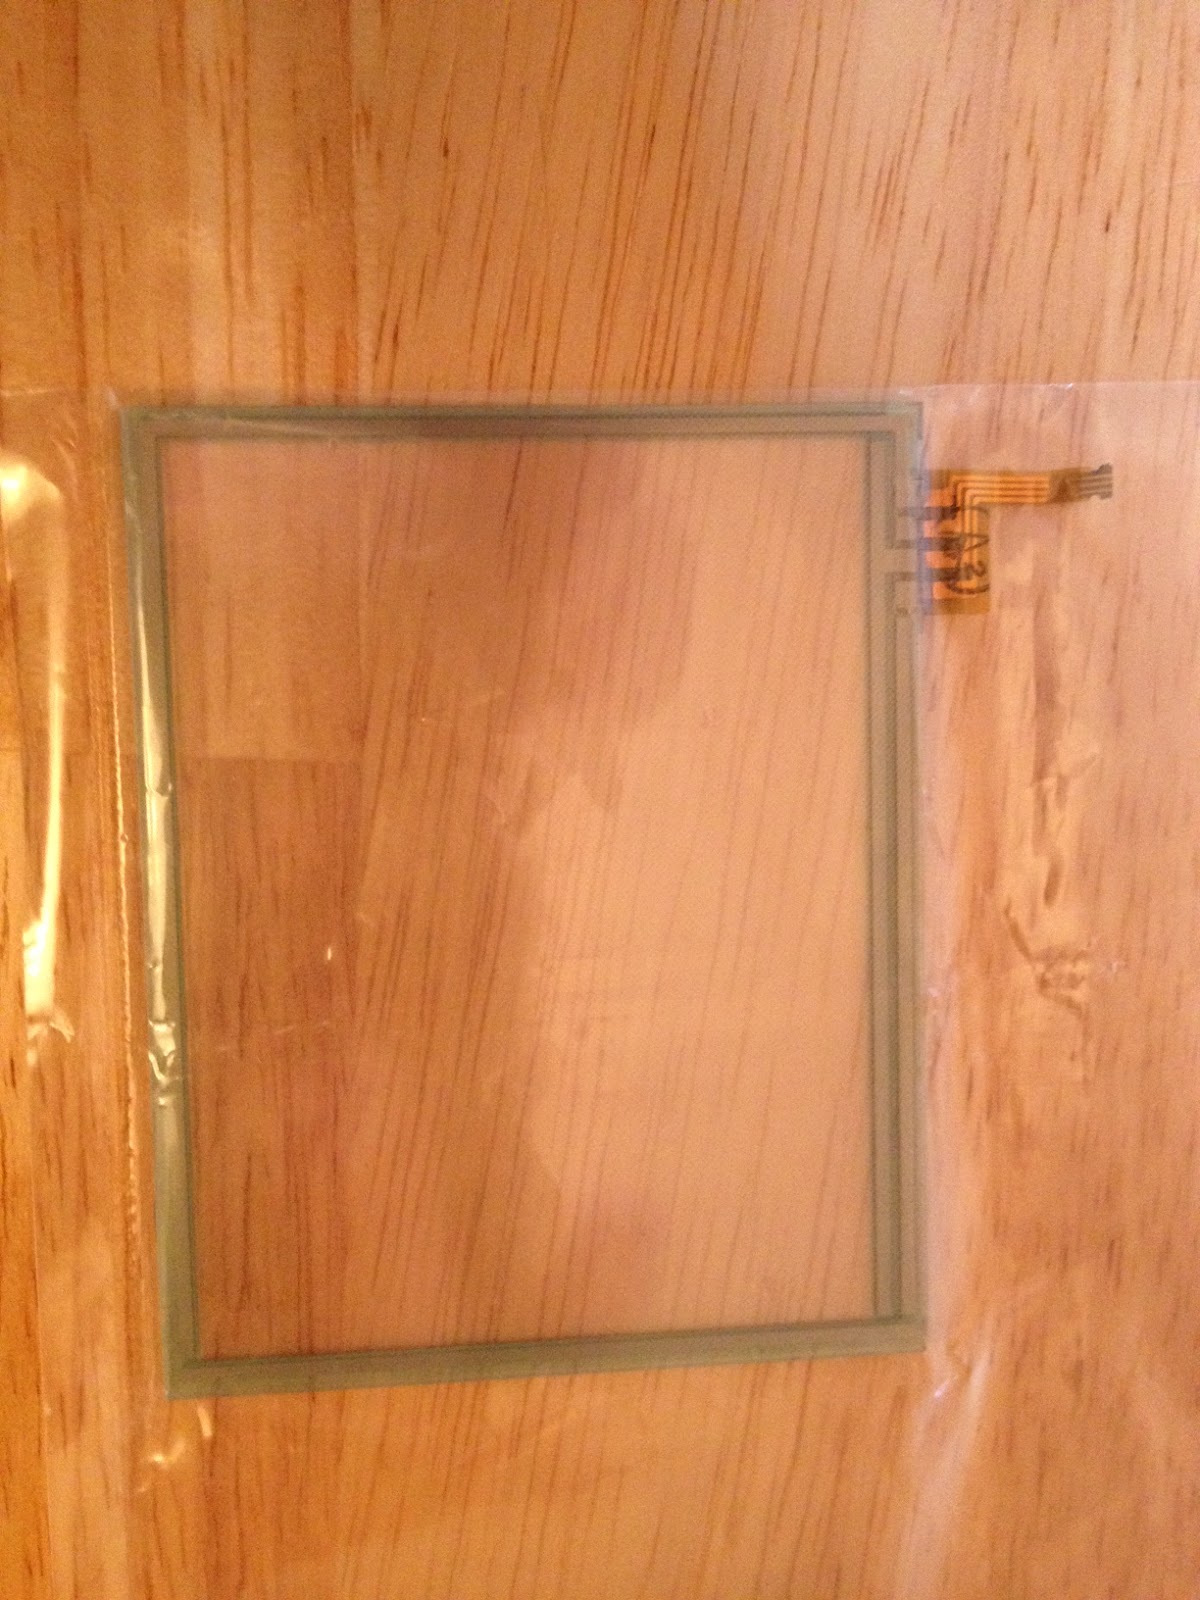
2) Nintendo DS breakout board — you will need 4 male header pins to solder to the board in order to use it
http://www.sparkfun.com/products/9170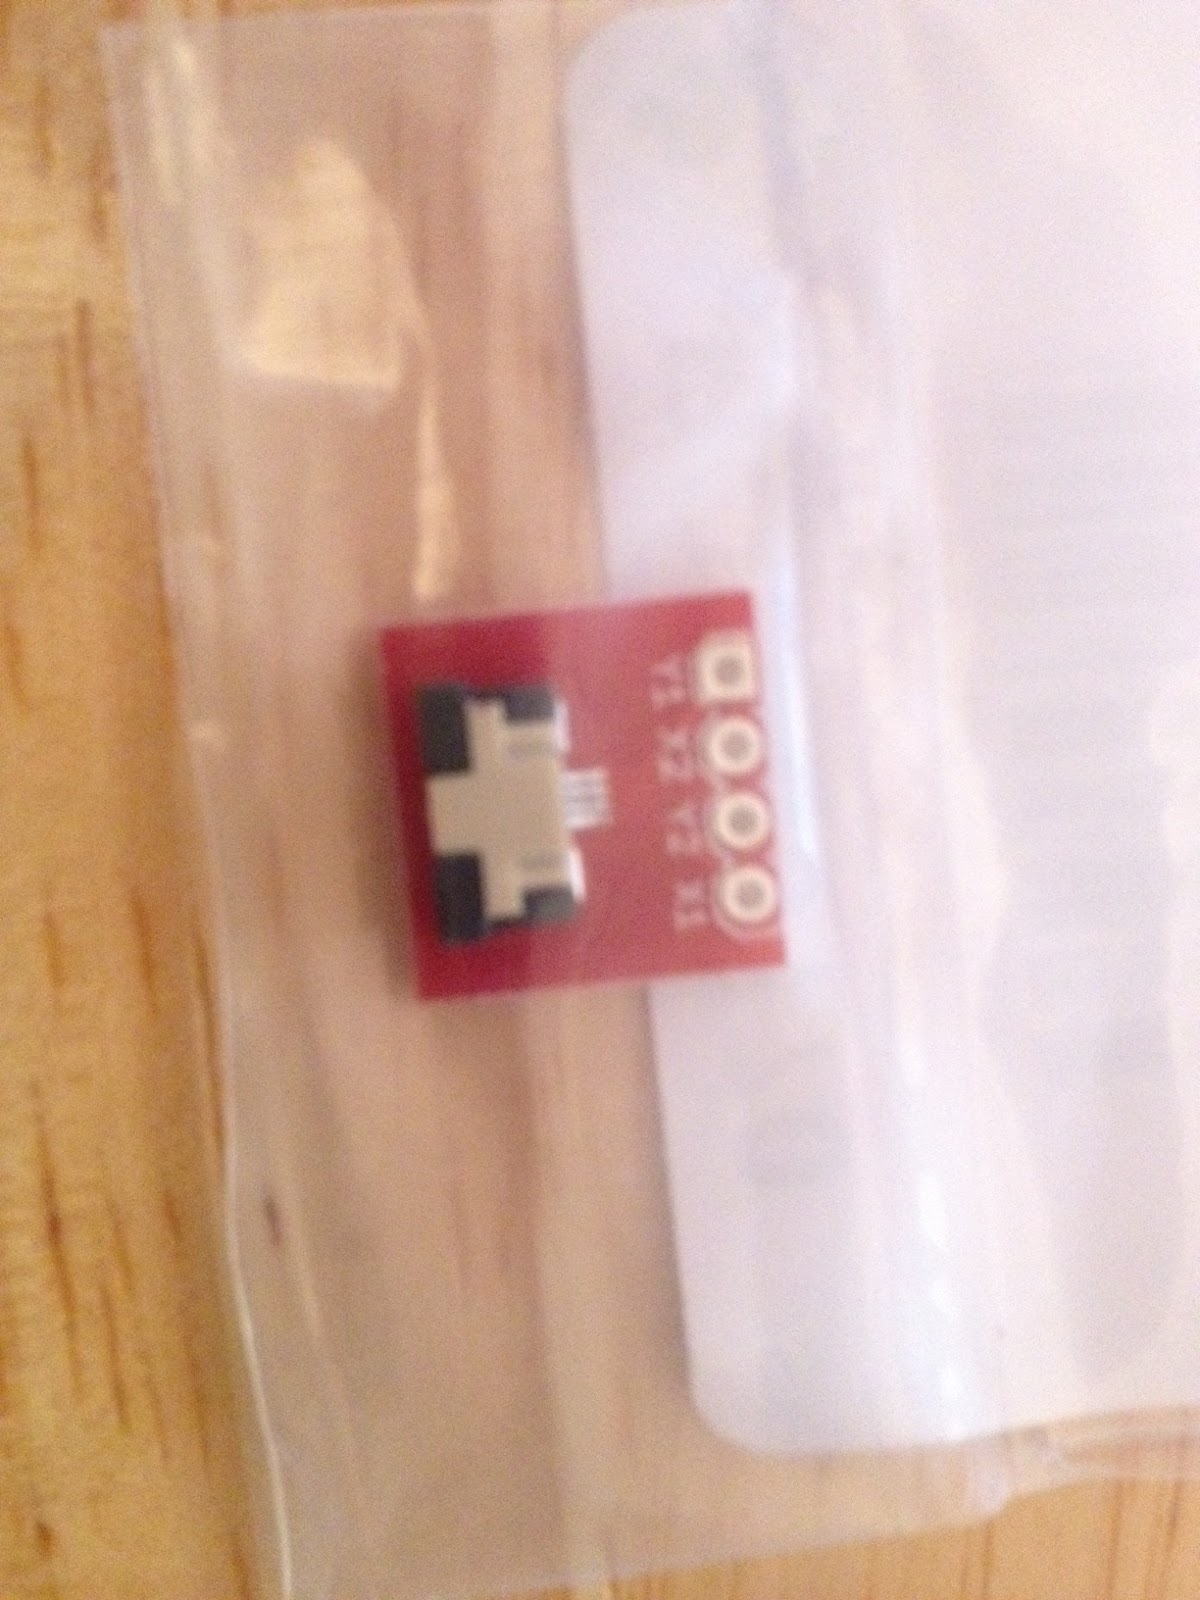
3) Header Pins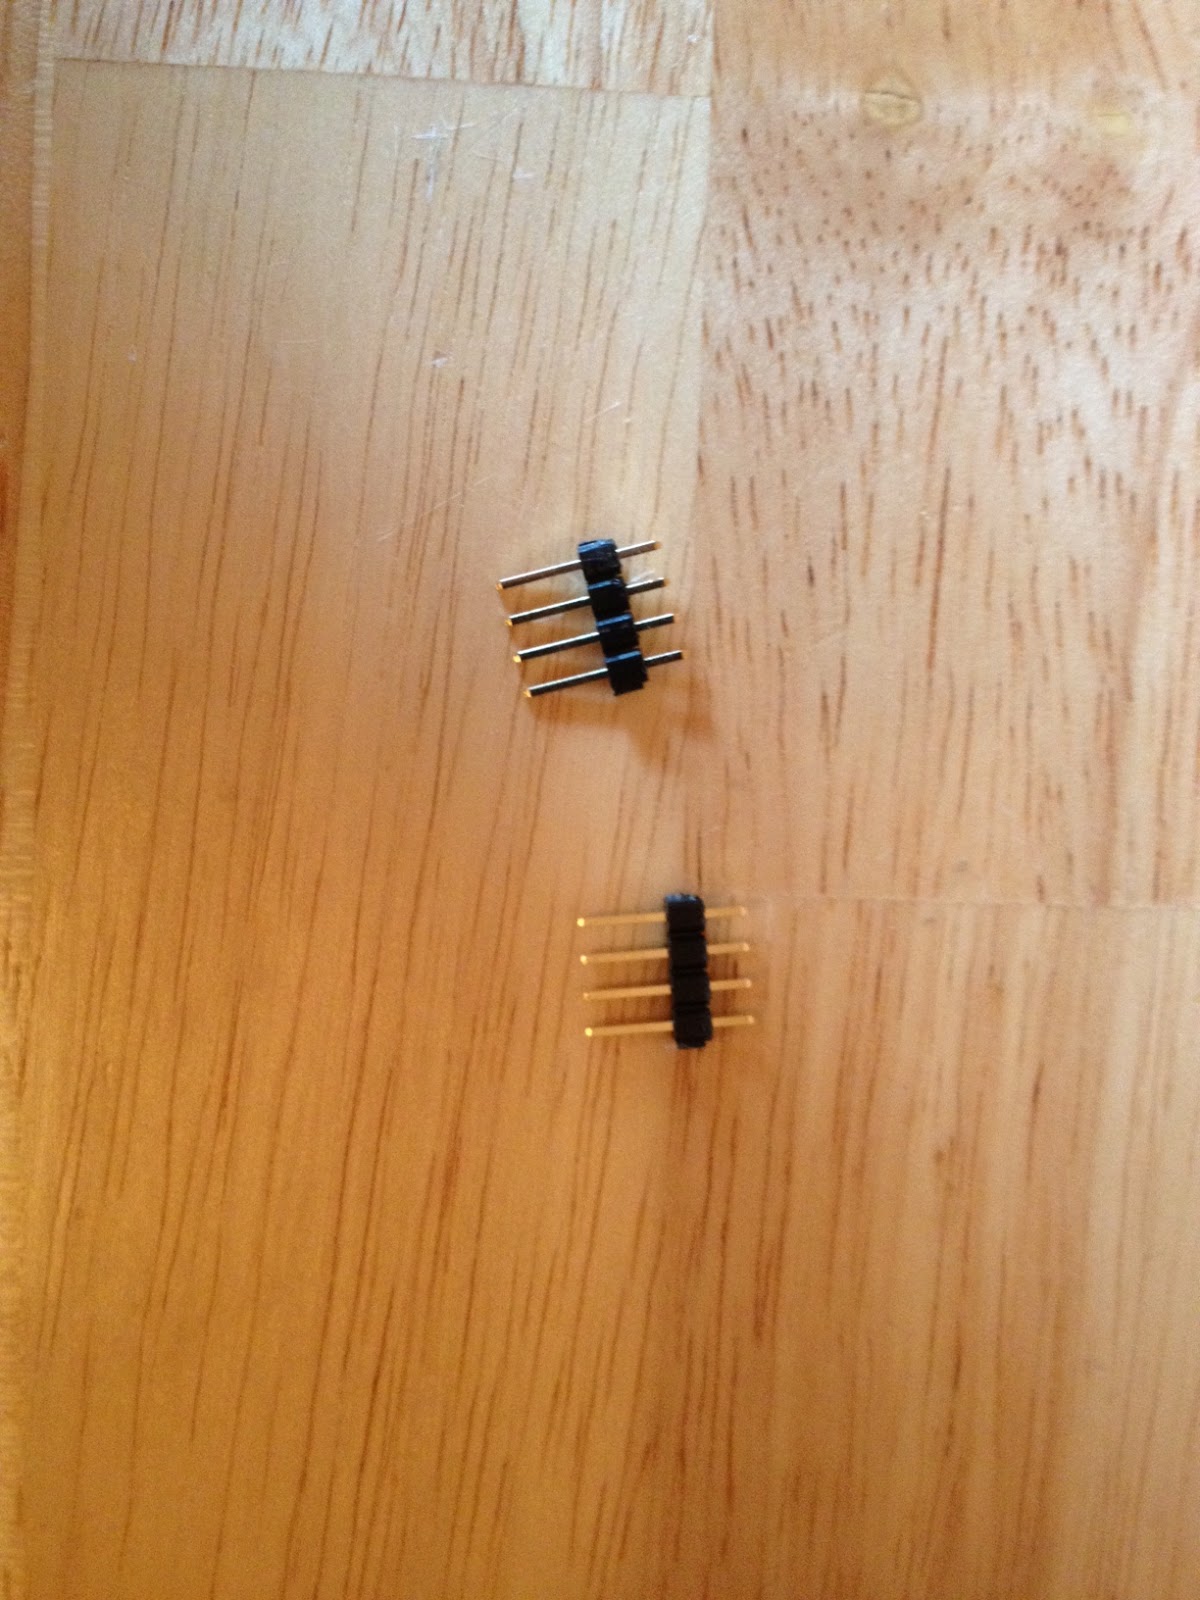
4) Arduino (I am using the Arduino Mega 2560)
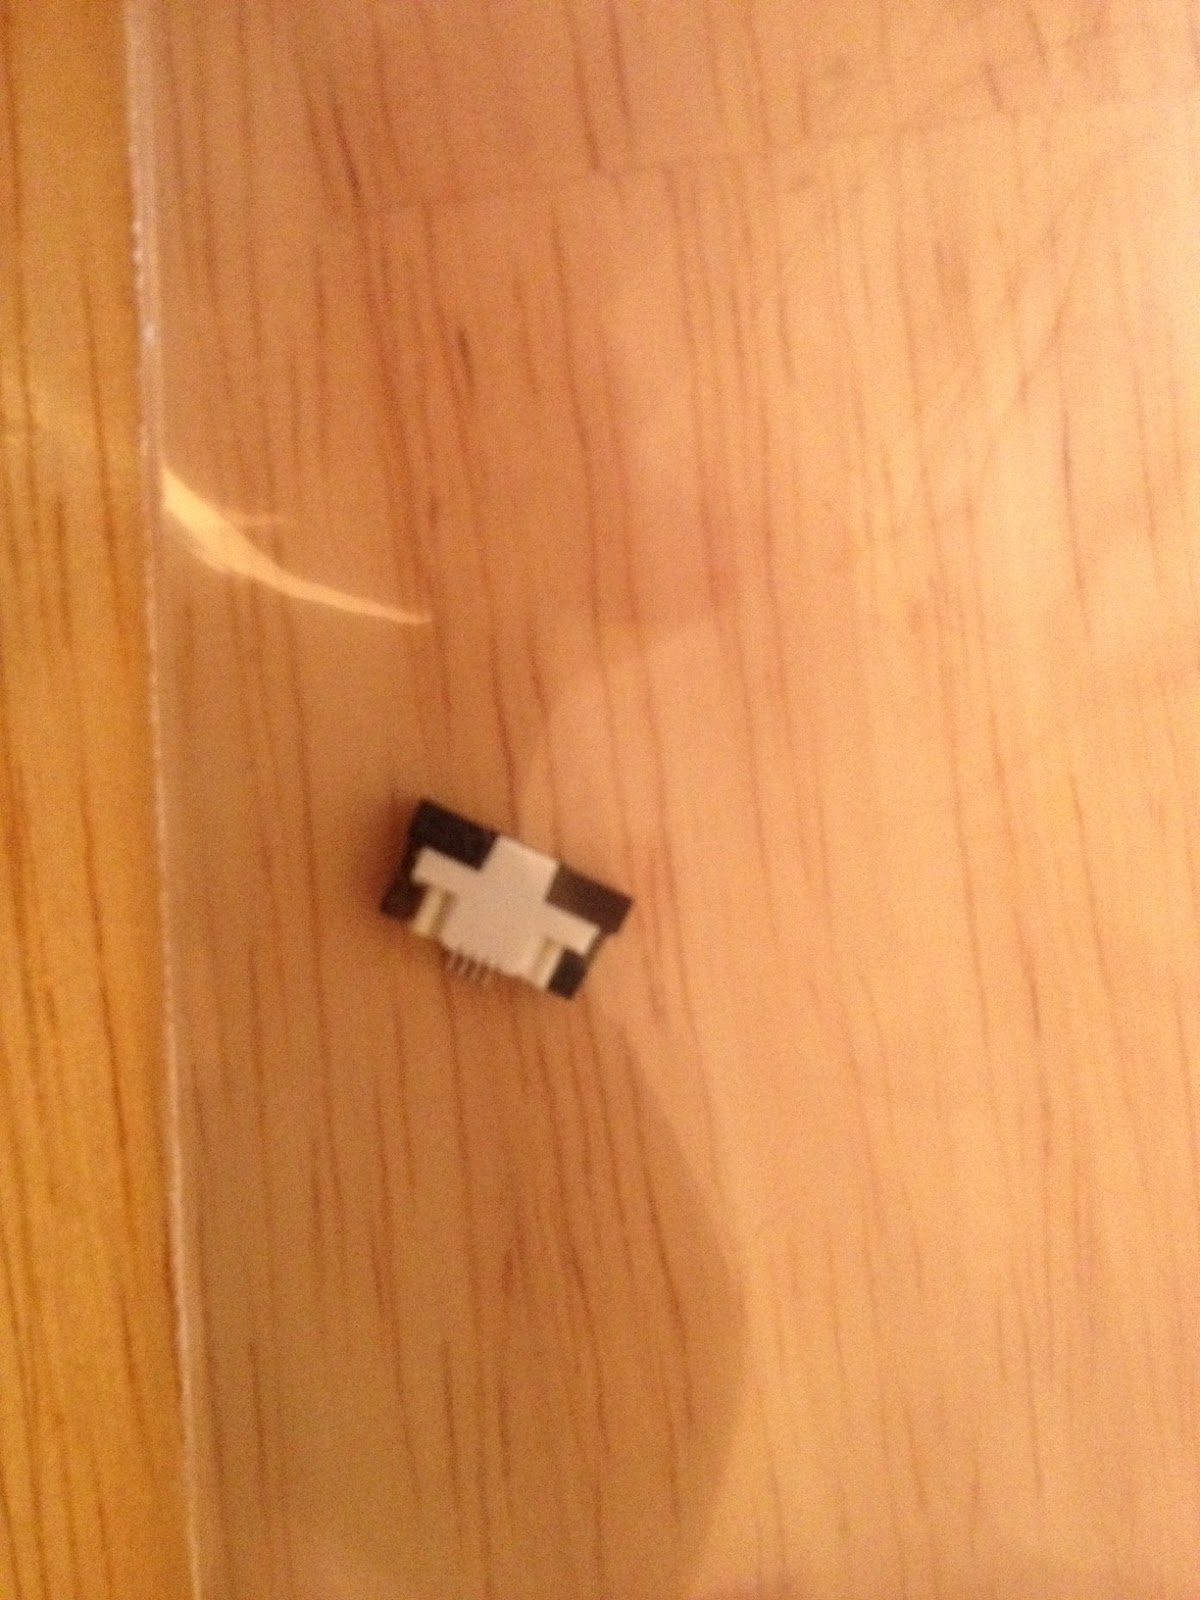
If you purchase parts from sparkfun, please ensure you DO NOT purchase the Nintendo DS Screen SMD component unless you can solder SMDs Nintendo DS screen SMD component — not what you want unless you can solder SMDs
http://www.sparkfun.com/products/9105
The first thing I did was put the leads into the breakout board. The leads don’t stay without some paper or something behind them… make sure you put the tape on the correct side.
This is the bottom side. You can see the darker color of the wires coating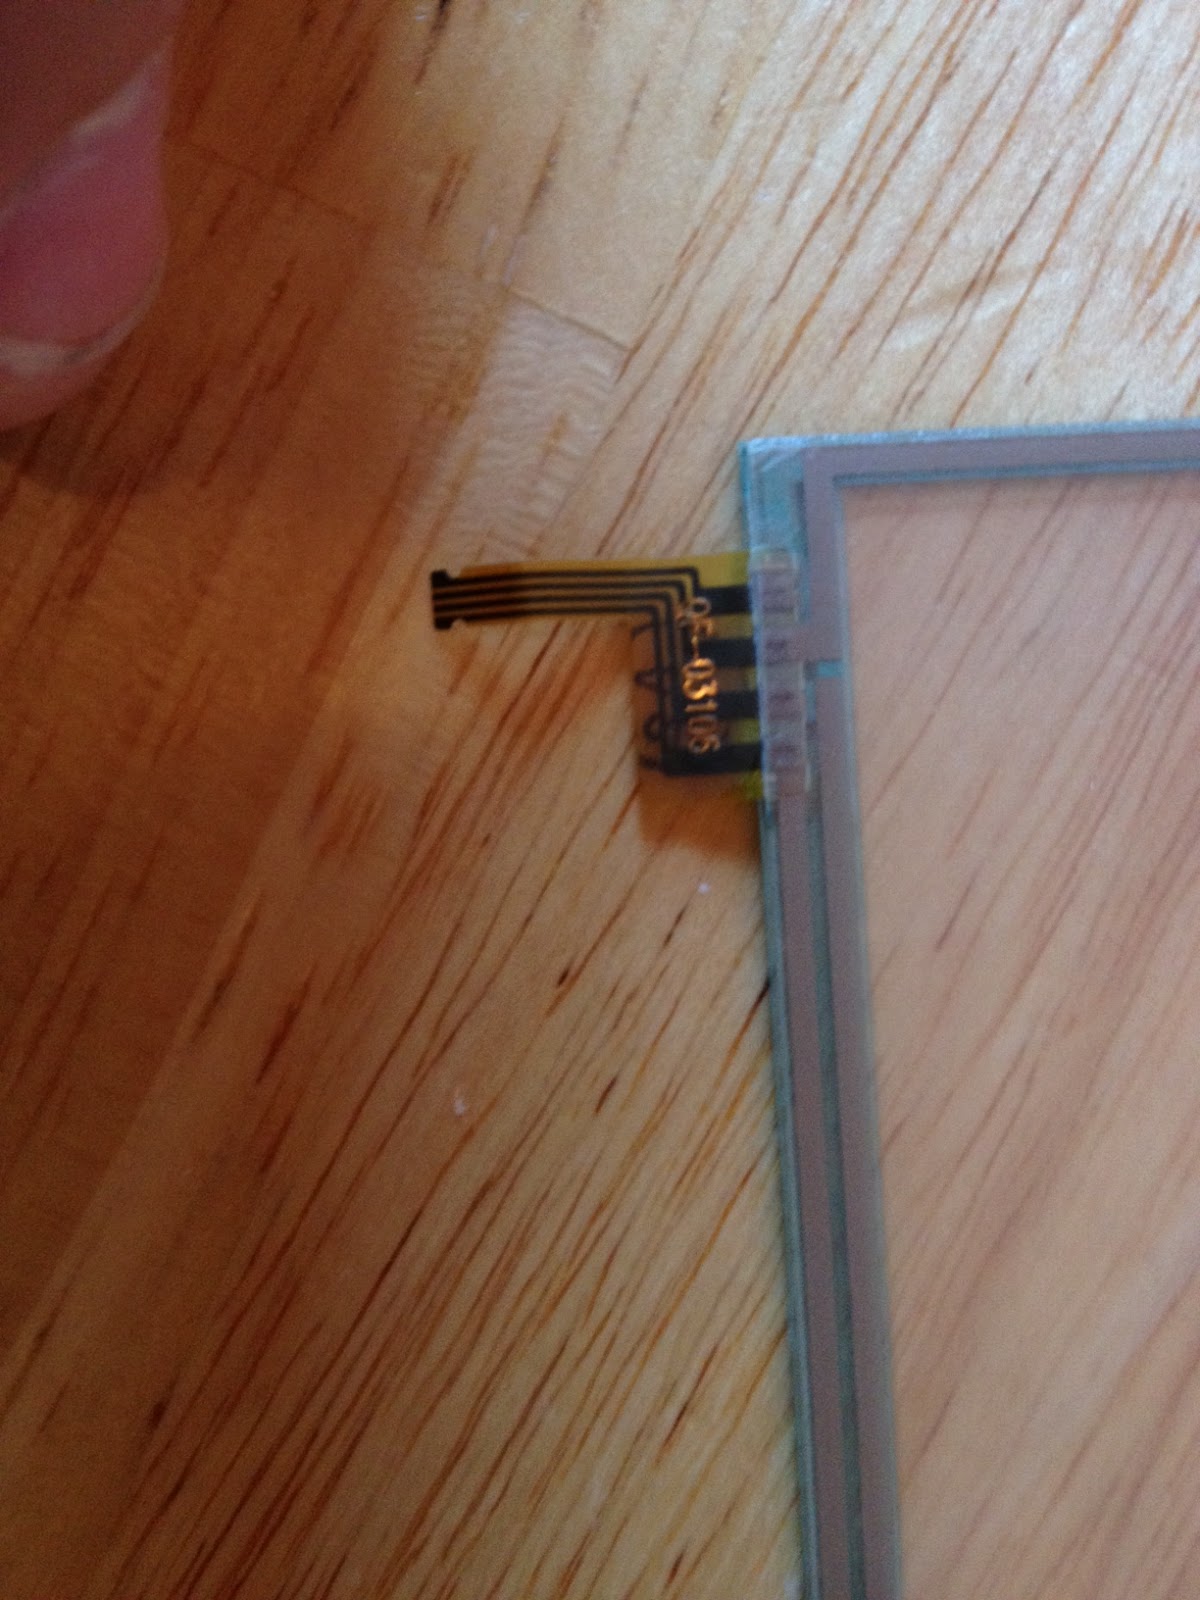
This is the top side; the side that goes up in the breakout board. You can see that the ends of the connector are exposed (more shiny).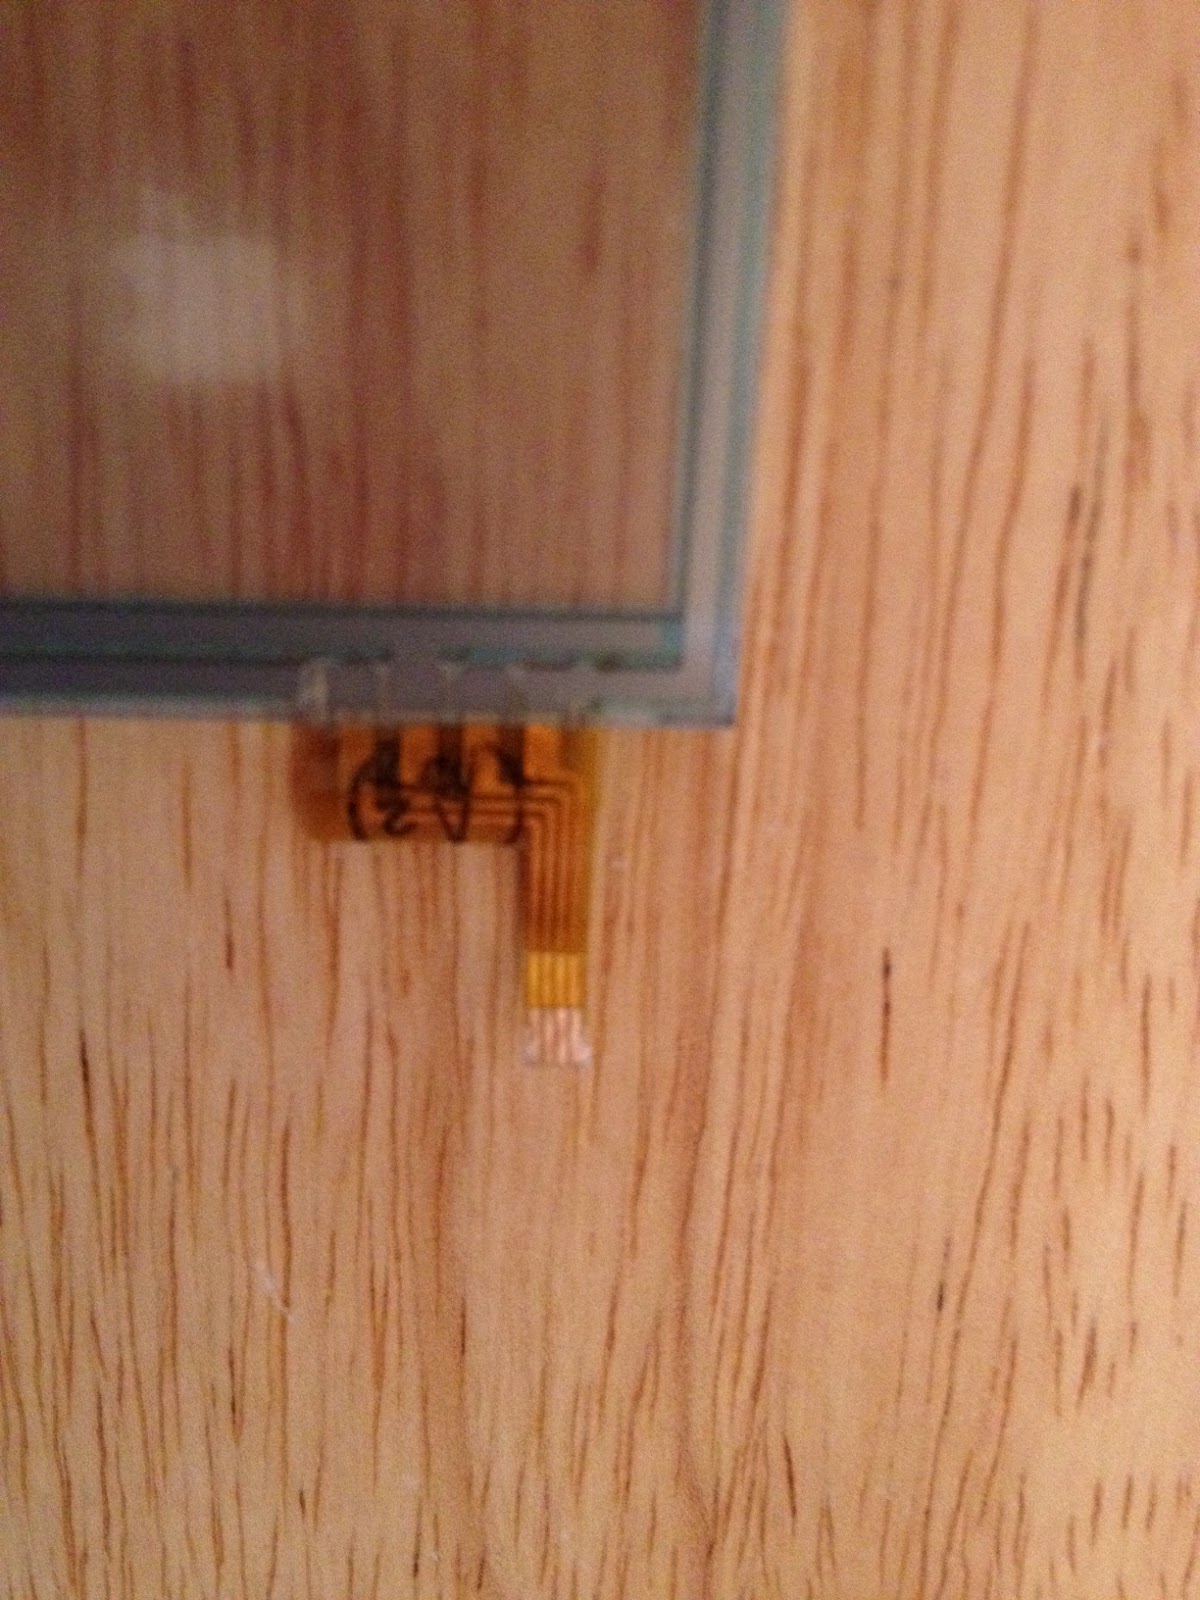
Here you can see the leads from the NintendoDS board “locked” into the breakout board. 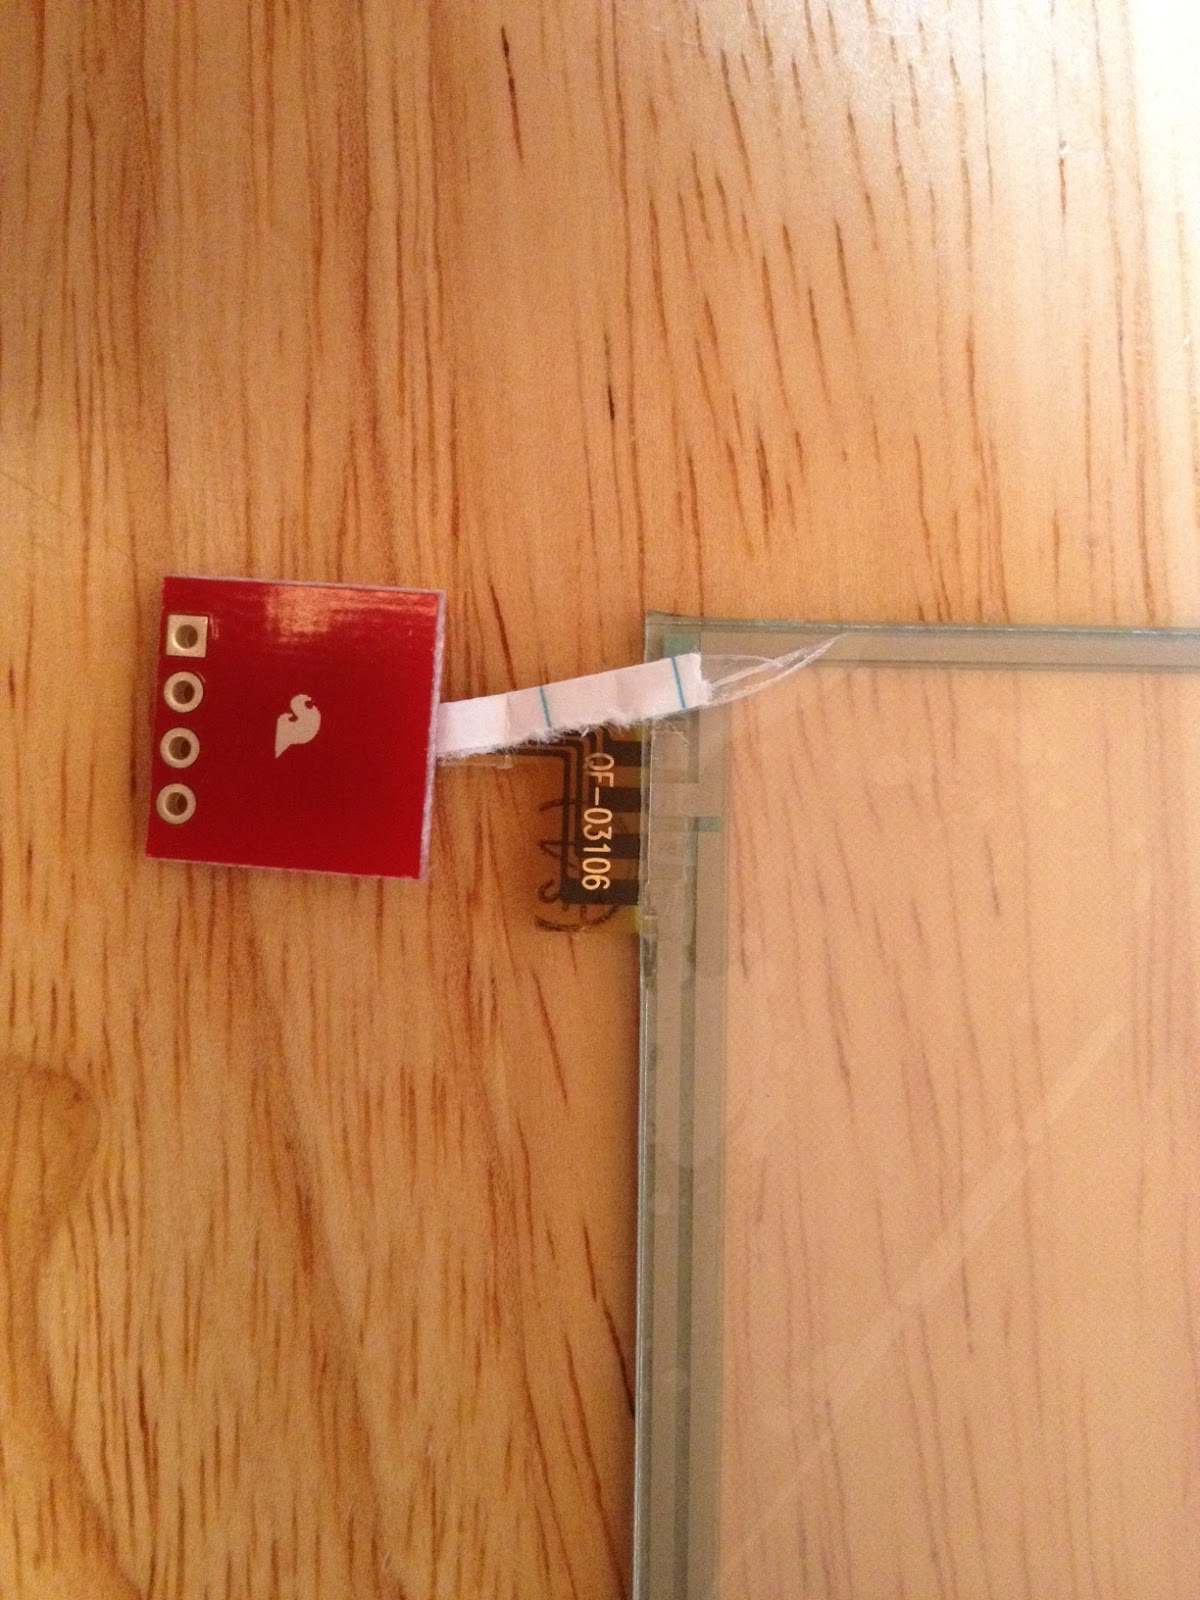

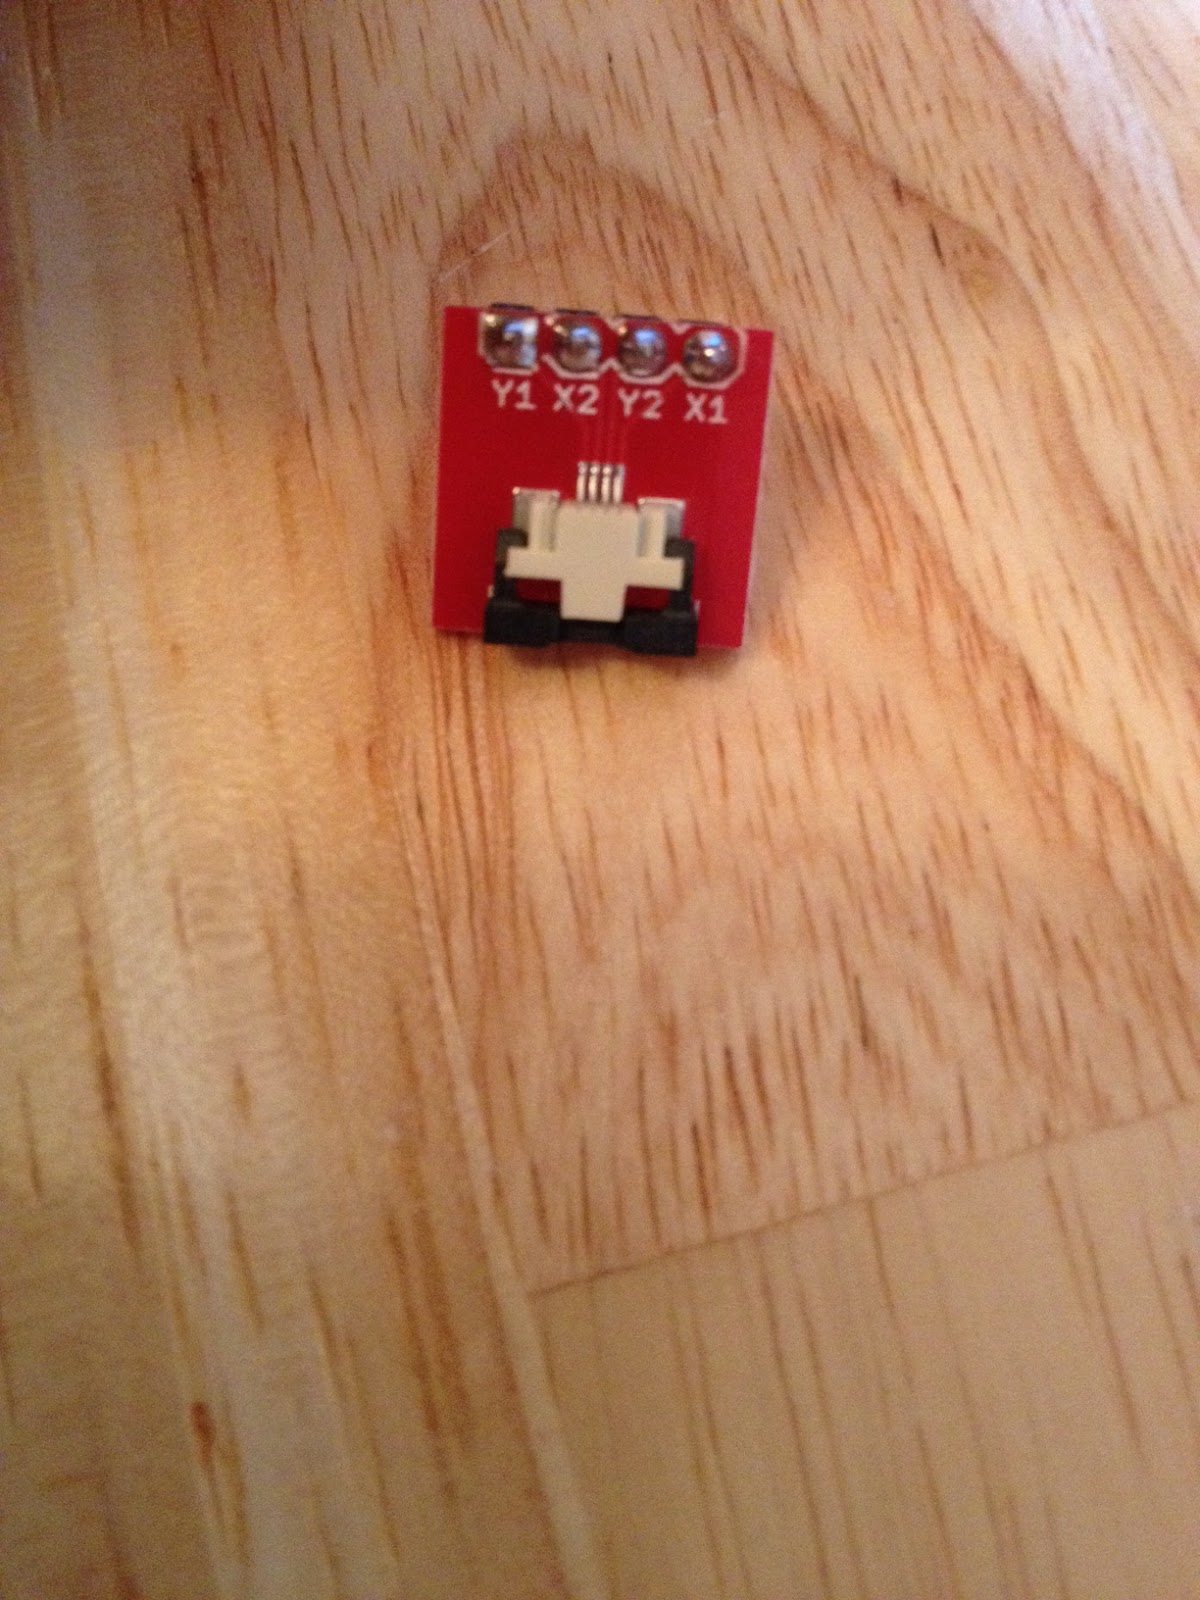
So the next thing I did was solder the header pins to the breakout board.
These next pictures are of the breakout board… in the top photos you can see the top and side view of the breakout board with the black slider forward to lock in place. In the bottom two photos (again top and side) you can see the slider open. I used tweezers to slide the black piece open (unlocked) so I could slide the nintendo DS cable into it with a folded over sheet of paper behind it. I also put two strips of scotch tape on the back to make the leads thicker. Then I put them in the slot and slid the black piece forward locking the leads in place.


After that, I followed the bilder.org tutorial. I inserted the pins from the breakout board into the Arduino pins A0-A3; then copied the code from the bildr.org page; pasted the code into a new Arduino sketch; compiled and uploaded to the Arduino. Then I opened the Serial Monitor in Arduino flipped the board and touched the screen to see x/y coordinates scroll across the screen.
NTS: Add pics and video of working project, plugged into the computer, etc
The next steps:
1) to come up with a graphical interface (handwritten paper, digital gui (on an LCD) or otherwise) and interact with the Nintendo DS screen programmatically.
2) wire up an LCD that displays information in a graphical manner (buttons, etc) and then interact with that LCD and displays with touches from the DS.
3) do all of the code with an AVR so I can use the Arduino for other programming.
I’ve included several links and tutorials to look at:
A very simple tutorial to get you started in less than 3 minutes
http://bildr.org/2011/06/ds-touch-screen-arduino/
http://tronixstuff.wordpress.com/2010/12/29/tutorial-arduino-and-the-ds-touch-screen/
http://www.practicalarduino.com/projects/touch-control-panel
Here is another tutorial that is a little different than how I did it:
http://kalshagar.wikispaces.com/Arduino+and+a+Nintendo+DS+touch+screen
