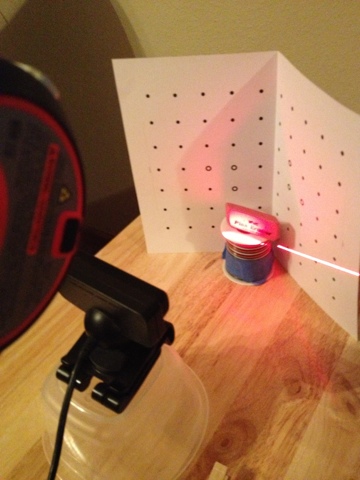
I had the camera sitting on the tray table at the same level as the object and that did not work for calibration. As you can see, I placed the object on a tupperware container and my calibration completed as expected. For these tests I am using the Black & Decker laser level. I have some lasers with prisms on order for about 4 bucks each. When I’m done building the scanning table and frame then I’ll mount one of those lasers for scanning.
I’ve used this test with a standard sheet of 8.5″x11″ paper where I printed the calibration dots. You may print the pages bigger so you are able to scann bigger objects. My goal right now is to get some scans done and see what DAVID can do.
One would think that I have an abundance of objects that I can scan…and I do, however, I couldn’t decide on what to scan so my first series was with a clothespin; this set is with a pink eraser.
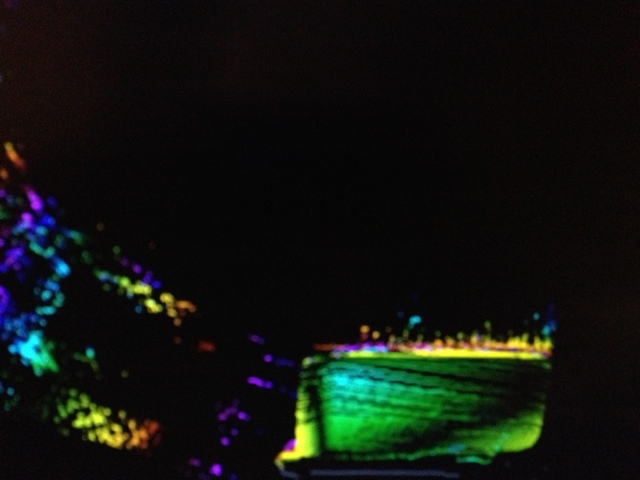
Once the object is set up and the camera calibrated we’re ready to scan. I clicked on the 3D Scanning tab in the accordion view on the left side of the DAVID scanning software and then the start button. After that I moved my laser line up and down until the entire object had a rainbow look.
After that I went to the next tab, Texturing. At this point I clicked “White Balance” then clicked “Grab Texture.”
I then saved the object as an obj file to my desktop and can open it in any 3D modelling software such as Blender.
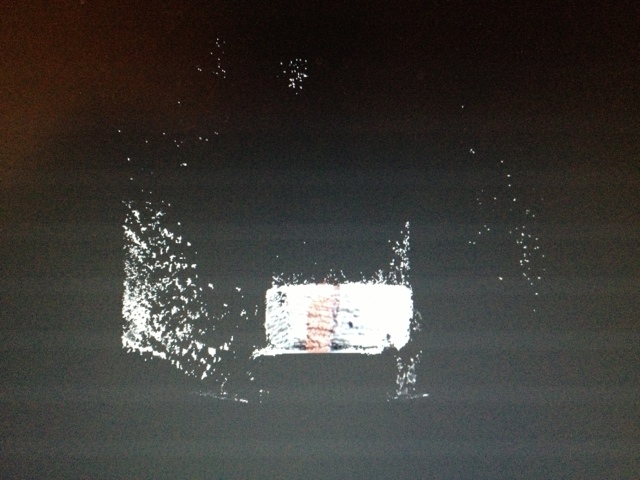
This was the first test of ease of use. You can see, in the pictures below, that the scans are crude for this test. I didn’t care if they were spectacular nor perfect. The next phase will be to set up the scans so they are smoother and contain less artifacts that need to be cleaned up. I believe a lot of those artifacts will be cleaned up by a different laser. In the next to last picture below you can see that the laser is brighter on one side. I believe that causes some of the artifacts I’m seeing. Another item to note is that I think with a slower and smoother moving laser the scans will be a lot smoother.
DAVID has other methods to obtain a scan, so I will be trying those as well. One of those methods is to use video.
As I build the 3D scanner I’ll be posting pics of those and the scans that I’ve done.
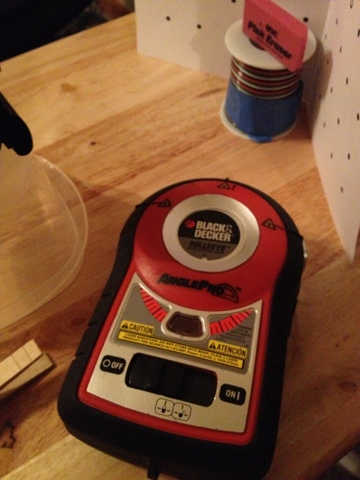 The setup |
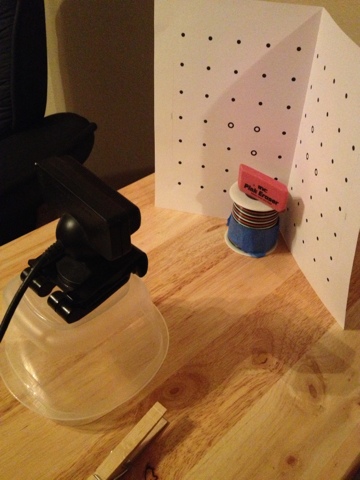 The setup |
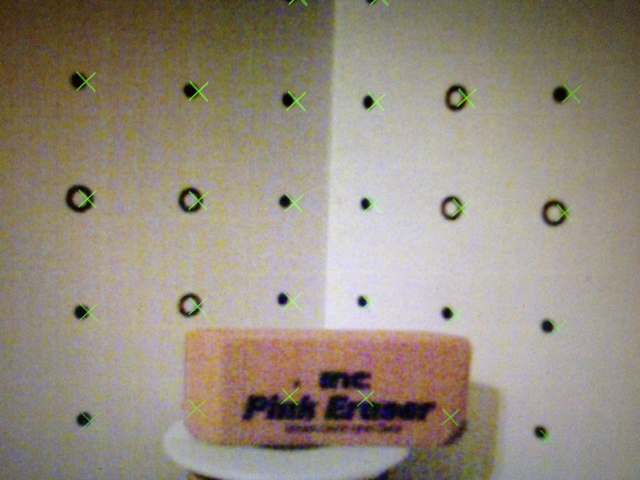 Calibration is off |
 Calibration Successful |
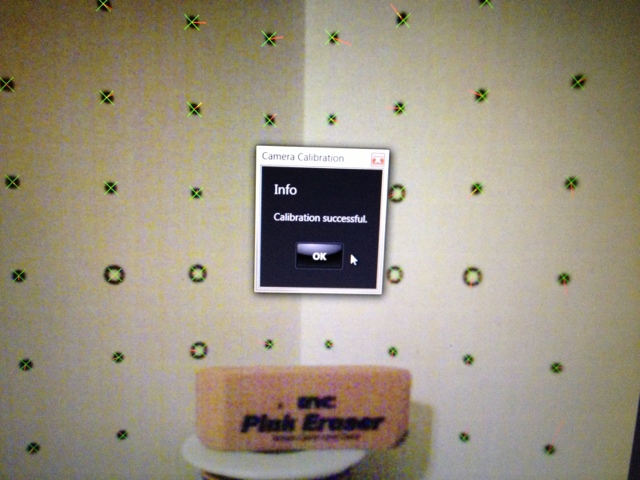 Calibration Successful dots lined up |
 Beginning of scan |
 Error Message |
 Error Message |
 Scanning |
 Object before texture |
 Textured Object |
 Sample Laser line |
 Sample Laser Line |
