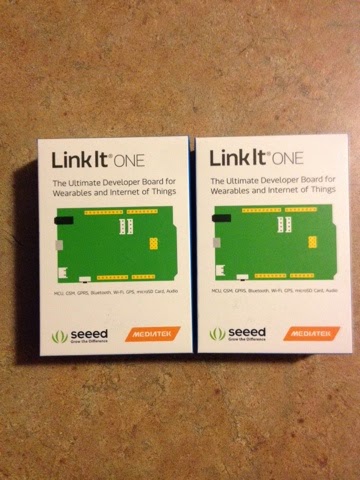
For the Sky Net Now project (https://www.facebook.com/SKYNETNOW) I ordered some LinkIt One boards. I love my Arduino Megas. They are my favorite boards. I’ve been blogging about them for a long time now (2.5 years ish?). For the LUCAS (Lightweight Universal Catographic Atmospheric Sensors) modules I wanted to remove some components so we could test without having to integrate a bunch of components that we just finished. We were running out of room on the LUCAS shields to connect more sensors.
The LinkIt One (ordered from http://www.seeedstudio.com/depot/LinkIt-ONE-p-2017.html) comes with wifi, bluetooth (including BLE), SD card, gps, gsm (which we’re not going to use), and the pinouts are the same as an Arduino UNO or Arduino Mega.
Here’s the exciting and important part. ALL of the shields I purchased will work with the LinkIt One. ALL of the sketches I wrote will work with the LinkIt One.
The LinkIt One SDK installs into your Arduino IDE so you change your output board to the LinkIt One and you’re ready to go with your Arduino sketches.
I’ve had a couple of hours to play with this product. Here are my notes:
- When you plug your board in to your computer you will notice that you have two COM ports available for the LinkIt One. One of them is for debugging. One of them is for programming. I opened my Device Manager to see which is which. For me COM 12 is programming and COM 11 is debugging. This simply means that when you program the LinkIt One you change the COM port to the programming COM. When you want to see what the Serial is printing you switch to the other COM port and open your Serial Monitor. If you don’t do this then you’ll spend a bit of time, like I did, attempting to figure out why you’re not seeing Serial comms. (http://labs.mediatek.com/forums/posts/list/81.page)
- My installation of the LinkIt One SDK did not include examples of the LStorage component. I went here https://github.com/Seeed-Studio/LinkIt-ONE-IDE/tree/master/hardware/arduino/mtk/libraries/LStorage and downloaded them then put them in my arduino directory (C:\Program Files (x86)\Arduino\hardware\arduino\mtk\libraries\LStorage)
- The SD Card is a Micro SD Card/SIM combo. The sim slides in from the side of the board. The Micro SD Card slides in from the plug.
- There is little to no documentation on this board. I’ve included a few links at the bottom so you can read like I’m doing. As I find answers I’ll post those.
Issues I’ve run across:
- I’ve been able to connect to the Flash, but not SD card.
- I’ve been able to connect via Bluetooth and an old Android phone (and my iMac), but not communicate with it just pair and not with my iPhone 4s, yet.
- I’ve not been able to get Wifi to connect, yet
- I have been able to get the GPS to give me info.
My next steps are to take the HUD/HMD that I’ve built and make it work with this board (since I no longer need the Bluetooth LE) and enhance the work I’ve done. It also has audio, so I’m hoping that the through put on either the wifi or the bluetooth will allow me to stream audio through it (we’ll see).
I’ll also take the motor shield and hook it up for the ArduRover project to hopefully save weight. The LinkIt one does come with a battery, though I doubt that the battery will power the motor shield.
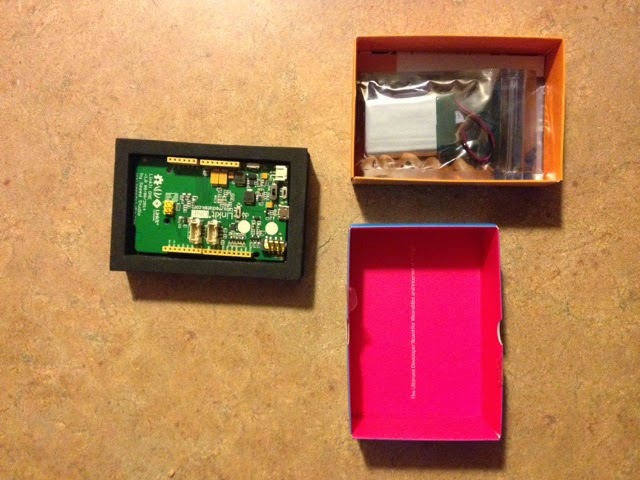
I’ve included some pictures from when I opened the box.


Here’s an article on opening the box http://www.cnx-software.com/2014/09/21/mediatek-linkit-one-quick-start-guide/
Helpful links:
http://labs.mediatek.com/forums/forums/list.page
http://www.seeedstudio.com/wiki/LinkIt_ONE
https://labs.mediatek.com/site/global/developer_tools/mediatek_linkit/api_references/core_digital.gsp
